3D Printed Christmas Ornaments That Show Two Images
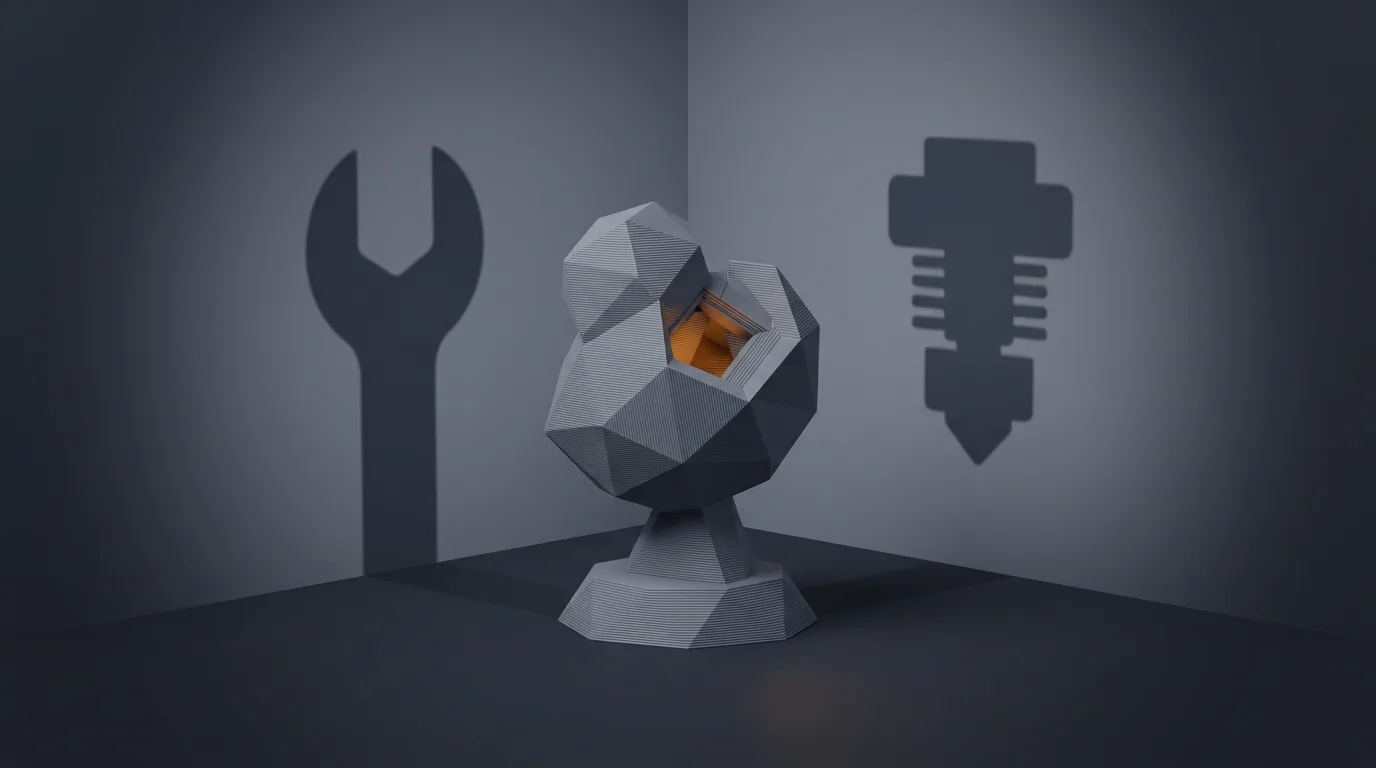
You can make 3D printed Christmas ornaments that show two different pictures from one solid piece: a tree when you look from the front, a star when you look from above, or one initial from each side. The trick is simple. Draw two silhouettes, push each one straight through a block at right angles to the other, and keep only the plastic where both extrusions overlap. Most of the work is picking two images that survive that cut, then printing the result cleanly.
How a dual-view shape actually works
Picture a block of clay. Cut the star outline straight down through it from above. Then turn the block and cut the tree outline straight through it from the front. What's left looks like a star from the top and a tree from the front, because each cut only removed material that was outside one of the outlines.
The catch is that the two images share one axis. Both the top view and the front view have the same left to right width. If the star has a point sticking out at the far left and the tree has nothing at that position, that star point gets cut away completely. The same goes the other way. So the rule is simple: both images need material across the same horizontal span.
The other two axes are independent. The star's depth (front to back) and the tree's height don't affect each other. So you can make a tall tree and a fat star and both will read clearly.
Picking two images that survive the intersection
This is where most first attempts go wrong. A few rules from my own failed prints:
- Match the widths. Scale both images so they fill roughly the same left to right span. A narrow tree paired with a wide star clips the star's side points.
- Avoid gaps in the left to right direction. If image B has an empty column (say, the space between two letters), image A loses everything in that column too. Initials work best one letter per view, not two letters side by side.
- Go bold. Heavy, chunky shapes and bold sans serif letters survive. Thin script fonts, snowflake spokes and tinsel outlines turn into fragile slivers where they cross the other image.
- Holes become tunnels. A hole inside one silhouette goes all the way through the solid in that direction. That's handy for a hanging loop but bad if you wanted a closed letter like O to look solid.
- Fill the middle. Shapes that are solid near their center give the intersection a sturdy core. A ring wreath crossed with a star leaves very little plastic in the middle.
Tree and star is a forgiving first pair: the tree is widest at the bottom and the star is roughly round, so their spans overlap well. Initials like A from the front and V from the top also work, because both letters span their full width.
Making 3D printed Christmas ornaments that hang right
One thing that surprised me: a hanging ornament is seen from the side, not from above. So for a tree ornament, I usually think of the two images as front and side and hang the piece so it shows one image, then the other, as it slowly turns on its string. If you want the star to be seen from above, it works better as a tree topper or a shelf piece than as something you hang.
For the hanger itself you have three options:
- Put a small ring at the top of one silhouette. It becomes a short tunnel through the solid, as long as the other image has material at that same spot.
- Leave a solid nub at the top and drill a small hole after printing.
- Glue in a small screw eye. It's the least elegant option but the easiest.
Whichever you choose, keep the hanger where both images overlap, usually at the center top. Otherwise the cut will remove it.
Slicer settings that work
Orientation. Print it in the direction that leaves the fewest parts starting in mid air. A tree printed upright is ideal: its sides lean inward as they rise, so each layer sits on the one below. Prusa's help page on support material puts it plainly: every layer needs something under it, and supports are only needed where part of the model starts in mid air. An overhang is any part that sticks out past the layer below it.
Supports. Star points and letter arms often stick out sideways, so check the layer preview. In OrcaSlicer (and Bambu Studio, which shares its roots), the support settings let you choose tree supports and turn on On build plate only, so no supports start on the model's own surface. That matters on an ornament, because support marks on a visible face ruin the illusion. Prusa suggests the same build plate only option for organic shapes, and says to check the preview afterward. The overhang threshold that's safe varies by printer, filament and cooling, so treat the defaults as a starting point and look at the preview.
Brim. Ornaments are small and often stand on a narrow base, like the tip of a star or the trunk of a tree. Prusa's skirt and brim guide recommends a brim of at least 3 mm to increase adhesion, and an outer brim only keeps it off the inside edges. A brim separation gap makes it easier to peel off.
Layers and walls. I start at 0.12 to 0.16 mm layers for a piece around 60 mm tall, because the slanted faces of a tree show stair steps at thicker layers. I also use enough walls that thin crossing sections print as solid perimeters rather than sparse infill. Exact values depend on your nozzle and machine, so print one and look at it before printing a dozen for gifts.
Filament and where it'll hang
PLA is the obvious choice: it prints sharp edges and comes in every festive colour. Just keep heat in mind. Bambu Lab's PLA Basic, for example, lists a heat deflection temperature of 54 °C and a Vicat softening temperature of 57 °C (MatterHackers product data). Other brands list different figures, so check your spool's data sheet. In practice, don't hang a PLA ornament against an old hot incandescent bulb, in a sunny window or in a parked car. Thin ornaments warp before thick ones do.
Silk and sparkle filaments look great on these, but some print weaker layer bonds. If you go with one, keep the crossing sections chunky.
Limits worth knowing
- Silhouettes only. You get outlines, not interior detail. A face or a detailed photo becomes a blob shape.
- Diagonal views look odd. From 45 degrees you see neither image, just a faceted lump. That's the illusion, not a print fault.
- Some pairs simply don't work. If one image has a lot of empty space where the other has material, there's nothing left to print there. Change the image rather than fighting it.
- Fine features are fragile. Where two thin strokes cross, you can end up with a joint only a few lines wide. It may print, but it'll snap in a gift box.
Frequently asked questions
Can I put two different initials on one ornament?
Yes, one initial per view works well: one letter seen from the front and another seen from the side or top. Pick bold letters that span their full width, such as A, M or V. Avoid placing two letters side by side in one view, because the gap between them cuts the other image.
Why did part of my image disappear?
The two images share the same left to right width, and only plastic inside both silhouettes survives. If one image has material at a position where the other image is empty, that part gets cut away. Scale both images to cover a similar span and fill the center.
Do dual-view ornaments need supports?
Often not, if you print them in the right direction. A tree printed upright leans inward as it rises, so each layer rests on the one below. Star points and letter arms that stick out sideways may need tree supports set to start on the build plate only, so no support touches the visible faces.
Is PLA OK for Christmas ornaments?
PLA is a good choice for most ornaments, but it softens at fairly low temperatures; Bambu Lab's PLA Basic lists a heat deflection temperature of 54 °C. Keep PLA ornaments away from hot incandescent bulbs, sunny windows and parked cars, and check your own spool's data sheet.
If you'd rather not build the intersection by hand in CAD, Dual View is a free tool on 3D Tools that runs in your browser. You give it two images, and it extrudes them at right angles, intersects them into one solid that shows image A from the top and image B from the front, and exports a watertight STL or 3MF. It also warns you when parts of an image will be cut away, which catches the problems above before you print.
Sources
Free 3D printing tools
Convert projects, make Gridfinity inserts, turn photos into layered prints and check models before slicing. In your browser, no install.
Open 3D Tools