Large Build Volume 3D Printer? Split Big Models Instead
Most hobbyists don't need a large build volume 3D printer. If the big print you want is a helmet, a cosplay prop, a lamp shade or a tall vase, you can usually cut the model into parts that fit your bed, add connectors in your slicer and glue the pieces into something that looks like one print. A big machine is only really worth it when you print single large parts often, or when the part has to be one piece to take a load. Everyone else is better off learning to cut and join well.
When a large build volume 3D printer actually makes sense
Be honest about what you print. Splitting adds work: planning cuts, test fitting, glue, cure time and some sanding. A bigger bed saves you that, but it costs more money, takes more room and gives you more to heat and level. A failed print also wastes more filament and time when it goes wrong at hour 20.
A larger machine is worth it if:
- You regularly print single parts longer than your bed, like long brackets, rails or panels.
- The part carries real load and a glued seam would be its weakest point.
- You sell prints and the time spent on assembly adds up every week.
- You need a watertight or airtight piece that a seam could leak through.
If none of that fits, put the money into filament and a good cut workflow.
How the slicer cut tool works
You don't need CAD for this. PrusaSlicer, Bambu Studio and OrcaSlicer all have a cut tool built in, and the controls are close across them. I'll use the PrusaSlicer version as the reference because its Cut tool knowledge base article explains it clearly.
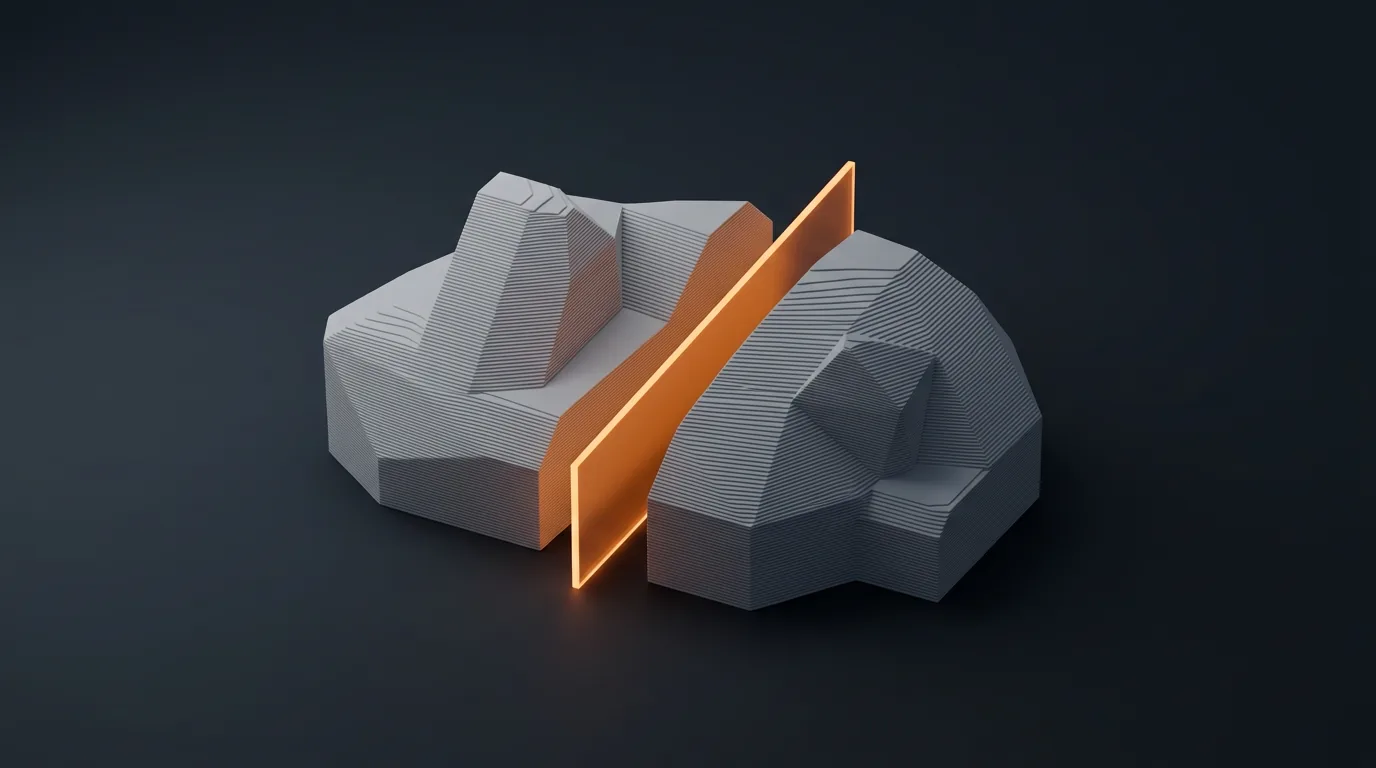
Select the object and press C, or pick Cut from the left toolbar. A cutting plane shows up on the model. You can type an exact height in mm, or use the arrows on the widget to rotate the plane to any angle. A handy shortcut: hold Shift and click two points on screen to draw a cut perpendicular to your current view.
There are two modes:
Planar makes a flat cut, and you can add connectors on it. Left-click on the cut face to add a connector, right-click to remove one.
Dovetail cuts a trapezoid pin and tail into the faces, so the halves slide together and lock. It's good for flat panels and boxes where you want the parts to lock without separate pins.
After the cut you decide what happens to each piece. You can keep it as it is, place it with the cut face down on the bed, or flip it upside down. You can also keep the halves as parts of one object with different settings, but that option isn't available in Dovetail mode, according to the Prusa docs.
One trap: Reset cut puts the plane back where it started, and it also wipes all your connectors. Place your plane first, then add connectors last.
Picking a connector type
The slicer gives you three types, per the PrusaSlicer cut tool article:
Plug adds a peg on one side and cuts a matching hole in the other. It's the default (a round plug) and fine for most decorative parts. Flip cut plane swaps which side gets the peg.
Dowel cuts a hole in both sides and makes a separate pin object for you to print. I like dowels best for big parts. Both halves print with flat cut faces, which often means cleaner bed contact and no support under a peg.
Snap adds a snap fit on one side and the recess on the other. It works for parts you might want to take apart again, but thin snaps in PLA can crack.
You can set each connector's shape, depth, size and rotation. The docs don't give one right clearance, and that's because there isn't one. How tight a peg fits depends on your printer, your nozzle, the filament and even which way the pin is printed. Before you print a 14 hour helmet half, cut a thin slice from each side of the joint and print just those slices. Ten minutes of test printing beats discovering a peg that won't go in.
Another fix if you don't trust the printed pins: the Snapmaker gluing guide suggests short pieces of raw filament or metal rod as alignment pins. They take the shear load and keep things lined up, so the glue mostly just holds the parts together.
Where to put the cut
Good cut placement makes the difference between a seam you can hide and one you'll stare at forever.
Cut along natural lines. A helmet has a brow ridge, a statue has a belt line, a vase may have a band. A seam on an edge that's already there disappears.
Cut to make printing easier. Every new piece is a chance to put a flat face on the bed. Splitting a figure at the waist can turn a print that needs tree supports everywhere into two halves that barely need any. An overhang is any part of the model that leans out past the layer below it. Steep ones need support, and a smart cut can remove the worst of them.
Leave enough wall at the joint. A connector needs material around it. If the cut goes through a thin shell, a plug or dowel hole can break through the outside surface. Thicken the walls in CAD, or move the cut to a thicker spot.
Make more than one cut if you need to. Each cut gives you two pieces. For a model that needs four pieces, cut once, then select one of the halves and cut again.
Joining the pieces cleanly
This is where most of the finish quality comes from.
Prep. The Snapmaker guide recommends sanding the mating faces with 150 to 200 grit paper, wiping them with isopropyl alcohol on a lint free cloth and letting them dry fully. Loctite's PLA guide agrees on the basics: faces should fit closely, be clean and dry, and be slightly rough.
Dry fit first. Assemble everything without glue. Trim stringing, blobs or elephant's foot from the cut faces with a hobby knife until the seam closes fully.
Pick the glue for the job.
Super glue (cyanoacrylate, often called CA) is the quick choice for most PLA work. Loctite says to put a small drop on one face, press the parts together straight away and hold for 15 to 30 seconds. A gel version won't run down the seam. Snapmaker notes CA joints can be brittle.
Two part epoxy is the pick for parts that take load. It's strong, sands and paints well, and can need up to 24 hours to fully cure. Loctite warns that some epoxies get warm while curing, and that heat can damage PLA. Check the label.
Skip the expanding polyurethane glue. Snapmaker warns it foams as it cures and can push the parts apart.
Clamp and wait. Use spring clamps for simple shapes. Painter's tape or rubber bands hold awkward ones. Full strength often takes 8 to 24 hours, so don't stress the joint before then. Glue in a ventilated room to cut down on the white haze CA can leave on the print.
Hide the seam. Snapmaker suggests filling small gaps with CA and baking soda, which hardens fast and sands flush. After that, primer and paint usually hide the line entirely.
Limits of splitting
Splitting isn't free, and it doesn't always work.
A glued seam is rarely as strong as continuous printed plastic, so for structural parts the joint is the weak spot. Pins help, epoxy helps, but if your project's whole point is strength, that's a real argument for a bigger printer.
Tolerances drift. A peg that fits perfectly in PLA may be tight in PETG, or loose after you change nozzles. Retest when anything changes.
Seams show on clear, silk and other glossy filaments that you don't plan to paint. Sanding a silk finish ruins the shine around the joint.
And small cut parts can cost you. If a piece's cut face is narrow, it may not have room for a connector at all, and you'll be relying on glue alone.
Frequently asked questions
Is it better to buy a bigger 3D printer or split models?
For most hobbyists, splitting models is better than buying a bigger printer. A larger machine makes sense if you often print single long parts, need a part to carry load without a seam, or sell prints where assembly time adds up. Otherwise a cut tool, connectors and good glue cover most large projects.
How do I split an STL that is too big for my printer bed?
Open the model in your slicer, select it and press C to open the cut tool. Place the cutting plane, add plug, dowel or snap connectors on the cut face, then confirm. Each cut makes two pieces, so cut a piece again if you need more parts to fit the bed.
What is the best glue for joining PLA print parts?
Super glue is the quick choice for most PLA parts: a small drop, press together and hold for 15 to 30 seconds. For parts that carry load, two part epoxy is stronger but slower to cure. Sand the faces, clean them with isopropyl alcohol and clamp until fully cured.
What clearance should dowels and plugs have?
There is no single correct clearance for dowels and plugs, because the fit depends on your printer, nozzle, filament and the direction the pin is printed. Cut a thin slice from each side of the joint, print only those slices and test the fit before committing to the full multi-hour parts.
Check your parts before you print them
Before you commit to a long print, it helps to know whether the model fits at all and where it will need support. The free QC tool runs in your browser without uploading your file. It checks a model's size against common printer beds, shows overhang area and parts that start in mid air, and can do a plane cut, auto orient each piece for the fewest supports, and repair holes or flipped faces so each cut part slices cleanly.
Sources
Free 3D printing tools
Convert projects, make Gridfinity inserts, turn photos into layered prints and check models before slicing. In your browser, no install.
Open 3D Tools