Thingiverse 3D Printing: Fix, Cut and Support Any STL
Most failed Thingiverse 3D printing jobs come from three problems you can catch before the first layer goes down. The mesh is broken in a way the slicer can't read cleanly, the model is bigger than your bed, or the orientation leaves large overhangs hanging in mid-air. Fix them in that order (mesh, then size, then orientation and supports) and most downloads will print the way the photos promised.
Why downloaded files break
Anyone can upload to Thingiverse. Files come from every kind of modelling software, and plenty were exported years ago. Some were made to look good on screen rather than to print. Prusa's help article on corrupted 3D models says it plainly: many models you find online are broken in some way, and some can't be repaired automatically.
That doesn't mean the designer did a bad job. A model can look perfect in a viewer and still confuse a slicer, because the slicer needs to know exactly what is inside the part and what is outside it.
Step 1: fix non-manifold STLs
An STL is only a skin of triangles. For the slicer to fill it properly, that skin has to be manifold, which means it's closed like a balloon and every edge is shared by exactly two triangles. A non-manifold mesh breaks that rule. The usual culprits are holes where triangles are missing, edges shared by three or more faces, faces flipped inside out, and separate shells that overlap each other.
In the slicer it looks like missing layers, walls that disappear in the preview, solid areas sliced as hollow, or stray bits of infill floating in space. Always scrub through the layer preview before printing. It's the cheapest test you've got.
Here's the repair order that works for me:
- Let the slicer try first. Prusa says PrusaSlicer repairs models automatically, but only to a certain degree. A warning icon next to the model name means it found something.
- Try the Windows repair. On Windows, the same Prusa article describes right-clicking the warning icon or the model and choosing the Netfabb fix. Reader comments on that page disagree about whether it still works, so treat it as one option, not a sure thing.
- Use a dedicated mesh tool. Prusa lists a few free ones. It notes that Meshmixer's Make solid almost always works but lowers resolution, so save it for when nothing else does, especially on detailed figures.
Prusa also points out that one method sometimes works on a model where another fails. If a repair mangles the part, go back to the original download and try a different route. Repairing an already repaired file usually makes things worse.
It helps to know what's actually wrong before you start. The free QC tool reports open edges, non-manifold edges, flipped faces and separate shells, and it can weld, re-orient faces and fill holes right in the browser.
Step 2: cut models that don't fit your bed
When a model is too big you can scale it down or cut it into pieces. Scaling is fine for a decoration. If the part has to fit something else, like a case around a board or a shade on a lamp fitting, cut it instead. Scaling changes every dimension, including the ones that need to match.
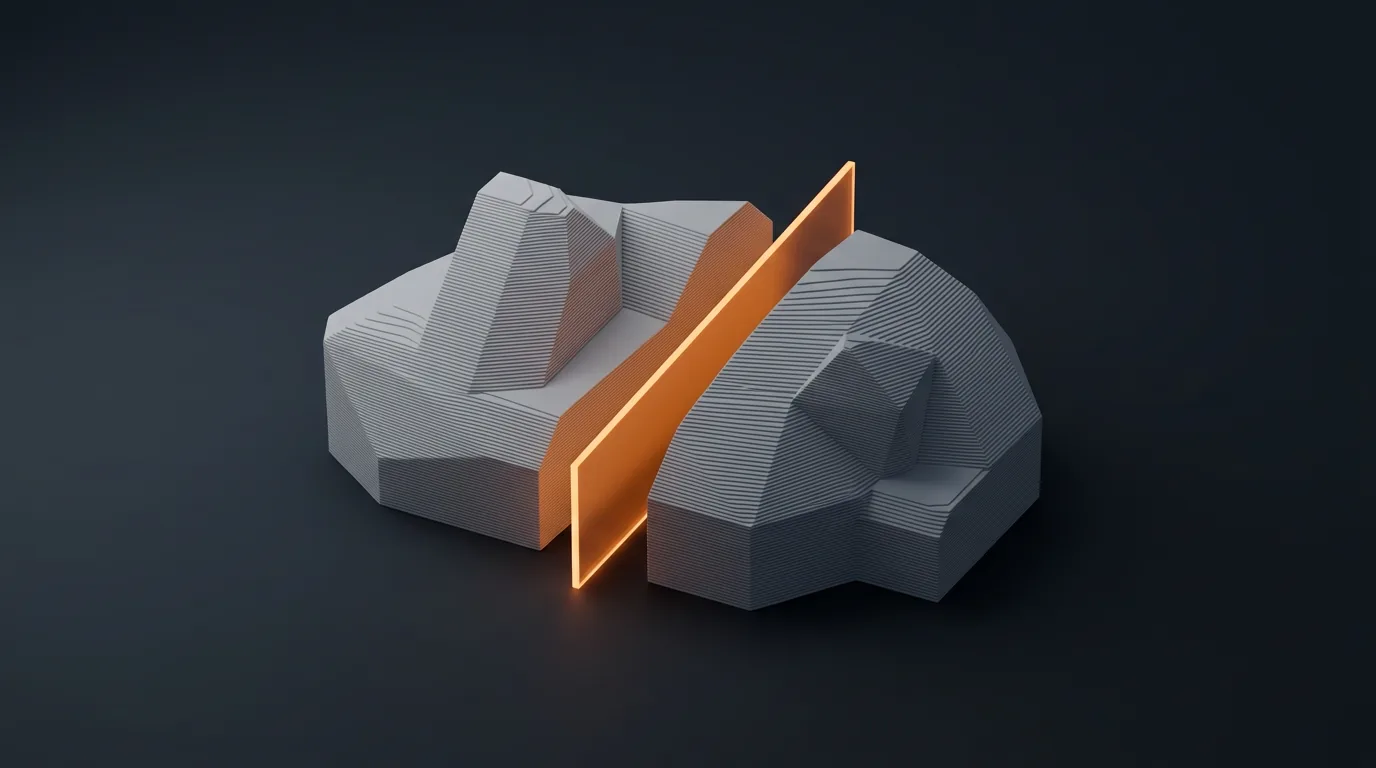
All the main slicers have a cut tool now. In PrusaSlicer, per Prusa's cut tool guide, you select the object and press C. You can type an exact Z height in mm, rotate the plane with the arrows on the widget, or hold Shift and click two points to set a plane perpendicular to your view. There's a planar mode and a dovetail mode, which cuts a trapezoid pin and tail into the faces.
The connectors are what make a cut part feel like one piece again:
- Plug adds a peg to one side and cuts the matching hole into the other.
- Dowel cuts holes into both sides and makes a separate pin for you to print.
- Snap adds a snap fit on one side and the matching recess on the other.
After the cut, each piece can keep its orientation, be placed cut side down, or be flipped. Cut side down is usually what you want, since a fresh cut face is flat, sticks well and needs no support.
Pick your cut line like a sculptor would. Natural seams, the base of a neck, the line under a hat brim or a change in shape all hide glue lines well. Prusa's guide doesn't give a clearance figure for connectors, and the right gap depends on your printer and filament. Before you commit to an overnight print, cut a thin slice that holds only the joint and test the fit.
Orientation and supports for Thingiverse 3D printing
An overhang is any part of the model that sticks out over empty space, like a chin, an arm or the underside of a ledge. Each new layer needs something under it, so the flatter an overhang gets, the more it droops.
Slicers use a threshold angle to decide what gets support, but they don't all measure it the same way. Prusa's article on failing supports defines its overhang threshold as the most horizontal slope you can print without support, measured from the horizontal plane, where 90° is vertical. The OrcaSlicer support settings page says support is generated for overhangs whose slope is below the threshold, so a smaller value lets steeper overhangs print without help. Read the tooltip in your own slicer before you change the number. The right value depends on your printer, filament and cooling, so test rather than copying someone else's.
Turn the model before you touch support settings. Prusa notes that reorienting a model or splitting it can cut down overhangs and the support needed. My checklist:
- Put the largest flat face on the bed.
- Rotate so overhangs face up or sideways instead of out over nothing.
- Put the side that will get support scars where nobody will look.
- Remember layers are weakest where they stack. A thin hook printed standing up can snap along a layer line.
- Look for islands, features that start in mid-air with nothing below. Those always need support.
Then pick the support type. OrcaSlicer offers Normal supports, projected straight down, and Tree supports that branch out from a trunk. Auto puts support wherever overhangs need it, while Manual only adds it where you paint enforcers. There's also an On build plate only option that keeps supports off the model's surface. On the OrcaSlicer overhangs page, Make overhang printable changes the geometry so overhangs need no support. Its tooltip suggests 45° to 60° as the maximum angle for most printers and models.
If supports fail mid-print, Prusa suggests avoiding thin isolated towers, slowing support speed, adding a brim around supports and choosing a sturdier pattern. Rectilinear is the easiest to remove. Honeycomb is sturdier but harder to get off.
Limits worth knowing
Automatic repair is a guess. It can close a hole the wrong way or drop a thin detail, so compare the repaired preview with the original. Some files are too broken to rescue, and asking the designer for a source file or a fixed upload is sometimes faster. No support angle or connector fit works on every machine. Treat every number in a guide like this as a starting point for your own test print. Also check each file's license before you sell prints of it.
Frequently asked questions
Why does my Thingiverse STL show errors in the slicer?
Usually the mesh is non-manifold: it has holes, edges shared by more than two faces, flipped faces or overlapping shells. Many models online are broken in some way. Slicers repair simple problems automatically, but bigger ones need a dedicated repair tool, and some files can't be fixed automatically at all.
How do I print a model that's too big for my print bed?
Cut it into pieces with your slicer's cut tool. In PrusaSlicer you select the object, press C, place the cutting plane and add plug, dowel or snap connectors so the parts line up. Place each piece cut side down and test the joint fit with a thin slice first.
What overhang angle needs supports?
It depends on your printer, filament and cooling, and slicers measure the angle differently. PrusaSlicer measures from the horizontal, with 90° meaning vertical. OrcaSlicer suggests 45° to 60° as the maximum overhang angle for its Make overhang printable option on most printers. Test on your own machine.
Should I scale a model down or cut it into parts?
Scale it down if it's a decoration and the exact size doesn't matter. Cut it if it has to fit something else, because scaling changes every dimension, including the ones that need to match. Good cut lines follow natural seams or changes in shape, which hide the glue line.
If you'd like a second opinion before slicing, the free QC tool checks an STL, OBJ or 3MF for holes, non-manifold edges, flipped faces and separate shells. It can auto repair the mesh and plane cut an oversized model. It also shows overhang area at the angle you choose, islands that start in mid-air and which common beds the model fits. Auto orient turns the part to need the fewest supports. It runs in your browser, so the file is never uploaded.
Sources
Free 3D printing tools
Convert projects, make Gridfinity inserts, turn photos into layered prints and check models before slicing. In your browser, no install.
Open 3D Tools