Useful 3D Prints: Gridfinity Bins Shaped to Your Tools
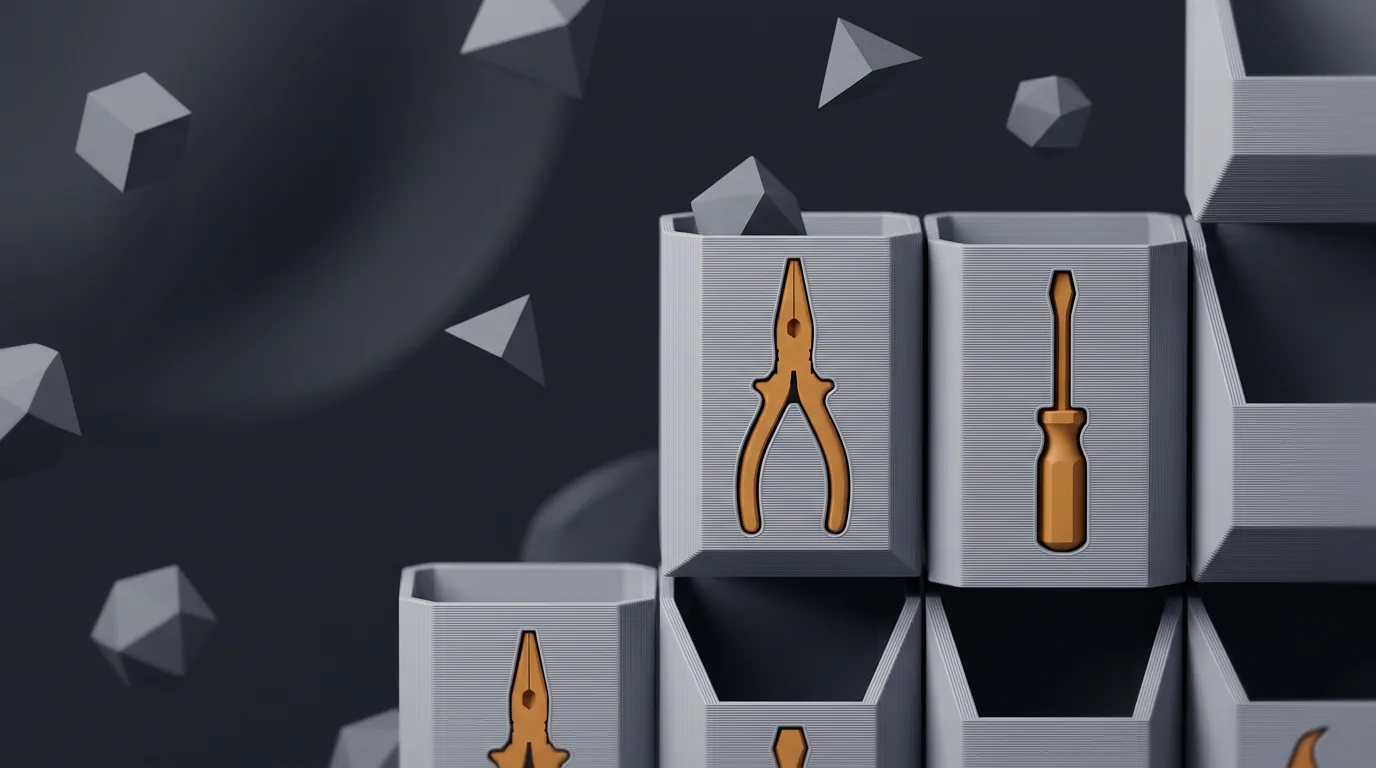
If you're looking for useful 3D prints that actually earn back the filament they cost, start with your tool drawer. A Gridfinity baseplate plus bins with pockets shaped to your own pliers, screwdrivers and calipers gives every tool a fixed home. You see right away when one is missing, you stop buying duplicates of things you couldn't find, and you stop digging around. The rest of this post covers the standard, the slicer settings that decide whether bins fit, and how to get pockets that match your tools rather than generic ones.
Why Gridfinity counts among the most useful 3D prints
Gridfinity is an open, modular storage system designed by Zack Freedman. When Hackaday covered it in 2022, the article quoted his goal: "every item has a dedicated home within reach of where you'll use it." You print a baseplate with a grid of sockets, and bins drop into the sockets. The baseplate's angled profile holds the bins in place so they don't get knocked loose.
Gridfinity is a standard, not a single model, which is why it's worth the plastic. Any bin built to the spec fits any baseplate built to the spec. You can print the plate once and swap bins in and out for years.
As for paying for itself, I'll be honest: it does that in time and in tools you don't lose or buy twice. It won't make you money. Baseplates and tall bins also use a fair amount of filament, so check the slicer's weight estimate before you commit to filling a whole drawer.
The numbers that matter
You don't need to memorize the spec, but knowing a few figures helps when you're diagnosing fit problems:
- Grid: 42 mm squares, with heights in 7 mm units. The community specification on GitHub calls this the 42x42x7mm grid format.
- Bin footprint: that same spec gives the block profile as 41.5 mm square, "to allow some tolerance to fit within the baseplates." That's only about half a millimetre of total play.
- Magnets: 6 mm diameter, 2 mm thick, according to the Gridfinity specification page. It describes them as something that "can be used to supplement the socket", so they're optional. The same page mentions M3 screws in the corners.
- Magnet polarity: the Gridfinity FAQ points out that magnets are polarized, so glue them all facing the same way. CA glue (superglue) or hot glue both work.
That half millimetre is the key number. A bin that comes out a little oversized at the bottom won't seat properly, and the bottom is where FDM printers tend to add width.
Slicer settings that decide whether bins fit
Elephant foot compensation. The first layer gets squished into the hot bed and comes out a bit wider than the rest. Prusa's knowledge base calls this elephant foot. It says Prusa's official profiles turn on compensation by default and that values around 0.2 mm usually work with a 0.4 mm nozzle. The OrcaSlicer wiki describes the same setting and lets you taper the compensation over several layers. Gridfinity bin bases have a stepped profile that starts right at the bed, so if your bins sit high or rock in the plate, check this setting first.
X-Y hole compensation. This is the one people forget about with tool inserts. Seen from above, a tool pocket is a hole in every layer of the bin. On most printers holes come out slightly undersized, and then your pliers won't drop in. In the OrcaSlicer settings, positive values make holes bigger and negative values make them smaller. The wiki deliberately doesn't give a universal number. It points you to its calibration guide instead, because the right value depends on your printer and filament. I'd do the same: print a test, measure it, then adjust.
X-Y contour compensation is the matching setting for outer walls. Don't touch it unless your bins measure oversized all the way up and not just at the first layer.
Nozzle. The Gridfinity FAQ suggests a 0.6 mm nozzle for many parts, since most bins aren't very intricate. That can save real time on a batch of tall bins. A 0.4 mm nozzle works fine too, especially for pockets with small details.
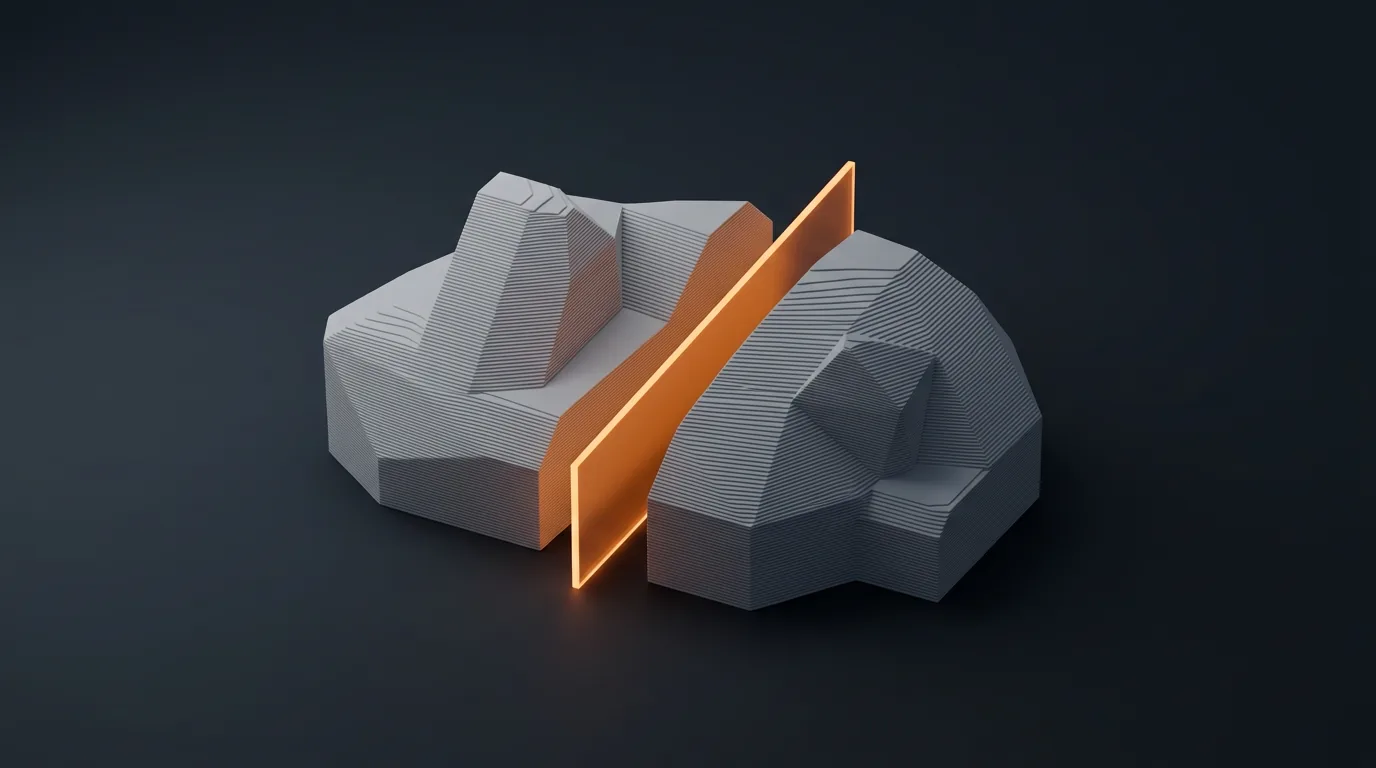
Test before you commit. Before you print a whole 4x2 bin, cut off the bottom few millimetres in your slicer's cut tool and print just the base. It takes a few minutes and tells you whether the base seats in your plate. Do the same at pocket height with your actual tool.
Making pockets that match your actual tools
The usual way to make a custom insert is to measure each tool with calipers and draw it in CAD. That works for a rectangular hex key holder. It's a pain for pliers, tin snips or an oddly shaped multitool. Tracing from a photo is faster, and here's how to get a good outline:
- Use paper as your scale. Lay the tools on a known sheet size (A4, Letter, A3 or Tabloid) so all four corners are visible. The paper corners give the software a known reference for real dimensions.
- Shoot from straight above, and from farther away than feels natural. At 50 to 60 cm or more, the camera sees the tool almost as a flat silhouette. Up close, perspective makes the top of a thick tool look larger than its footprint, so the traced pocket comes out too big.
- Space the tools apart. Tools that touch can merge into one outline. Leave a gap between them.
- Check the outlines before you build. Fix anything that clipped a jaw or swallowed a shadow.
The Gridfinity Inserts tool follows this workflow. It finds the paper corners for scale and traces each tool with an AI model. You can edit the outlines, and traced tools stay in a library so you can reuse them in new layouts. It builds a standard Gridfinity bin with the cutouts, with optional magnet holes and a stacking lip, and exports STL or 3MF.
Print the bin like any other Gridfinity part, with the elephant foot and hole compensation settings above dialled in for your filament.
Limits and failure modes
It's better to know these before you burn half a spool:
- Photo distance is the biggest variable. Close shots trace thick tools slightly too large. If a pocket is loose, reshoot from higher up before you fiddle with compensation.
- A photo shows the outline from above and nothing else. It can't see a handle that tapers underneath, or which side of the tool you'd rather grab. Check the edited outline against the real tool.
- Your printer adds its own error. Even with a perfect outline, uncalibrated hole compensation can make every pocket tight. Fix that once per filament and it carries over to every bin.
- Bins from different designers don't always agree. The spec leaves room for interpretation, so a bin from one remix can fit differently from another in the same baseplate. Print a base test when you mix sources.
- Magnets have to face the same way. One reversed magnet makes a bin push away from its socket. Mark the polarity before you glue.
- Filament adds up. A full drawer of baseplates and tall bins is a real spool commitment. Start with the drawer you open most.
Frequently asked questions
What size is a Gridfinity grid unit?
A Gridfinity grid unit is 42 mm square, and heights go up in 7 mm steps. Bins themselves are 41.5 mm square at the base, which leaves about half a millimetre of total clearance so they can drop into a baseplate socket without binding.
Do Gridfinity bins need magnets?
No, magnets are optional. The specification describes them as a way to supplement the socket and hold bins more reliably. If you use them, they are 6 mm diameter and 2 mm thick, glued in with CA glue or hot glue, and they all need to face the same way.
Why don't my Gridfinity bins fit the baseplate?
The most common cause is elephant foot, where the first layer squishes wider than the rest. With only about half a millimetre of total clearance, that's enough to stop a bin seating. Turn on elephant foot compensation in your slicer and print a short base test before you print full bins.
How accurate are tool cutouts traced from a photo?
They can be accurate if you shoot from straight above at 50 to 60 cm or more, with the whole paper sheet in frame for scale. Close shots make thick tools trace slightly too large. Your slicer's X-Y hole compensation also affects how snug the printed pockets turn out.
Try it with your own tools
If you want pockets shaped to the tools you actually own, the free Gridfinity Inserts tool on mediafystudio.com takes one overhead photo of your tools on a sheet of paper and turns it into Gridfinity bins with tool-shaped cutouts, ready to slice as STL or 3MF.
Sources
Free 3D printing tools
Convert projects, make Gridfinity inserts, turn photos into layered prints and check models before slicing. In your browser, no install.
Open 3D Tools