3D Print Keychains in Multiple Colours With One Extruder
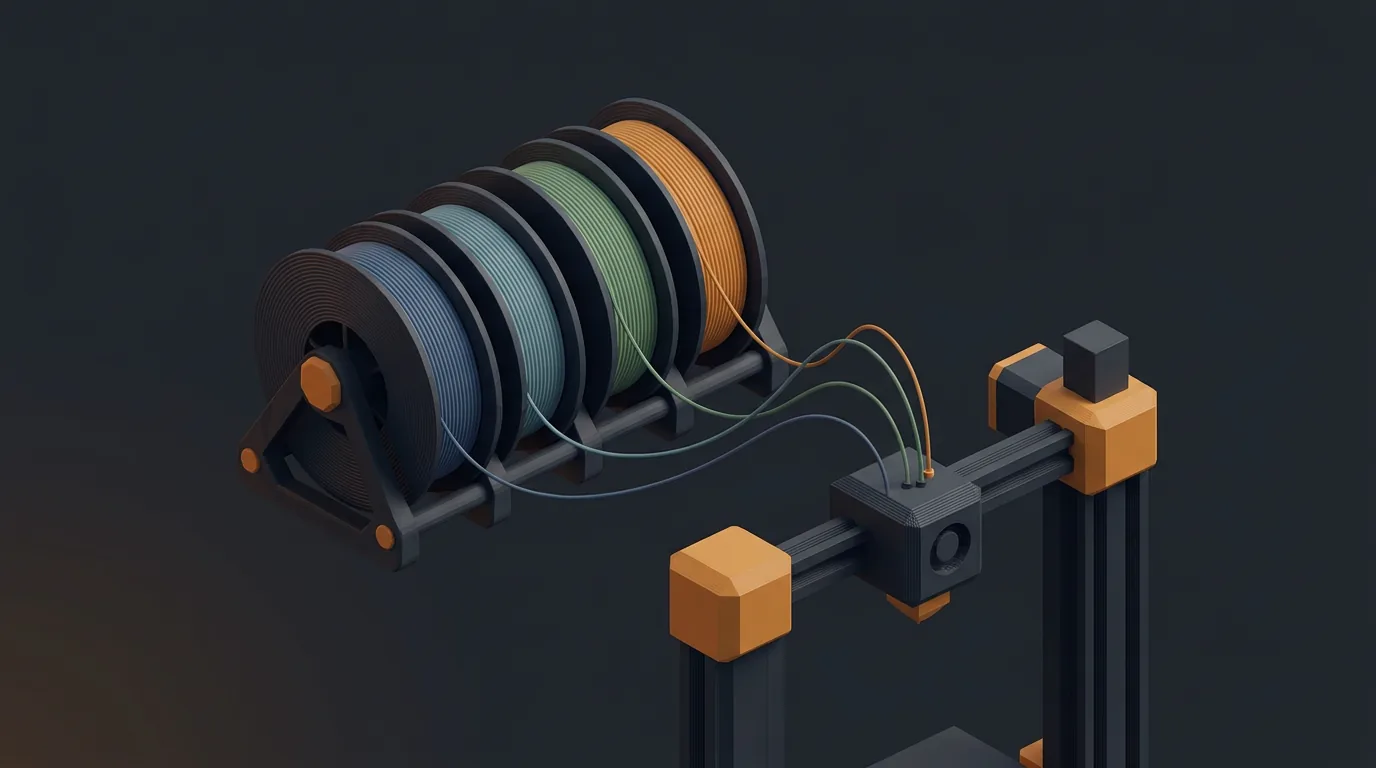
You can 3D print a keychain in two, three or more colours on a printer with one nozzle and no AMS. Design the tag as flat bands of height, slice it, then tell the slicer to pause at the layer where each new colour starts. The printer stops, you pull out the old filament, load the next one and press resume. Names, logos and even photo tags all work this way, because a keychain is really just a short stack of flat layers.
Why keychains suit layer swaps
A colour change at a layer height changes the whole layer, not one area of it. That sounds limiting, but it's ideal for a flat tag. The base plate is one colour and everything raised above it, like letters or a logo, comes out in the next one. You don't need a purge tower and you don't waste filament on every layer. It's one swap per colour.
The catch is simple: two colours can't sit side by side on the same layer. If your design needs a red letter next to a blue letter at the same height, you either need a multi-material setup or a redesign where each colour lives at its own height.
Designing a 3D print keychain for colour swaps
Plan the design in heights, not in regions. Before you open the slicer, sort out where each colour starts and stops.
- Base plate first. One colour, with the key ring hole going right through it and sitting well inside the edge so the loop doesn't snap off.
- Raise the text or logo. Prusa's guide on practical uses of color change suggests making a logo about 0.3 mm higher than the rest of the model, which is two layers at 0.15 mm. It also recommends giving each colour at least two layers so it prints reliably.
- Pick bold fonts. Thin serifs and hairline strokes turn into blobs or vanish when the nozzle can't fit a proper line into them. A chunky sans serif reads better on a small tag.
- Stick to one material. Prusa's Color change article says to use the same filament type for every colour, PLA with PLA for example, because mixed types will likely fail to stick together.
One small trick: make the raised part a contrasting colour to the base, not a slightly different shade. On something the size of a keychain, subtle contrast just looks like a printing flaw.
Adding the swap in your slicer
In PrusaSlicer, slice the model, go to the preview and drag the layer slider on the right to the first layer of the new colour. Click the orange plus icon to add a colour change, or right click it to pick a preview colour. According to the Prusa knowledge base, the printer pauses as soon as it reads the M600 command in the G-code and asks you to change filament. The preview colours are only for you; they don't change the G-code.
There's also a plain pause. Prusa's article on inserting a pause or custom G-code explains that this uses M601, lets you set a message for the screen, and is inserted before the selected layer prints. Neither colour changes nor pauses work with Sequential printing switched on.
OrcaSlicer and Bambu Studio use the same idea: a layer slider in the preview where you add a pause or filament change. For printers without a filament changer, the OrcaSlicer wiki describes a Manual Filament Change option that skips the tool change commands and relies on M600 or PAUSE to trigger a manual swap. If your printer runs straight through a change without stopping, check what your printer profile sends for a filament change.
Cura handles this with a post-processing script called Pause at Height. Its source code shows the settings: pause by height or by layer number, a pause method (Marlin M0, RepRap M226, BQ M25, Repetier/OctoPrint), an option to park the print head, retraction, an extrude amount after the pause (0 by default) and a standby temperature. Pick the method that matches your firmware, or the printer may ignore the pause.
Whichever slicer you use, check the layer in the preview before you print. Prusa notes that the change takes effect at the start of the selected layer, and people often set it one layer early or late. Scrub the slider so the first layer of your letters is the first layer shown in the new colour.
Doing the swap at the printer
PrusaSlicer's preview switches to a Color Print view that shows the time until each change, so you know when to be standing next to the machine. If a swap lands at a bad time, Prusa suggests quieting the beeper in the printer's settings.
When it stops:
- Leave the hotend hot and unload the current filament.
- Load the new colour and push filament through until the colour coming out of the nozzle is clean, not streaky.
- Pull the blob and any strings off the nozzle with tweezers. Don't touch the print.
- Resume.
Step 3 matters more than it looks. Users in the comments on Prusa's colour change article report gaps right after a change when the nozzle wasn't primed, and ooze after the purge spoiling the first letter of the new colour. A clean nozzle on resume is your best defence.
Photo keychains: stacking translucent layers
Photo tags push the same method further. Instead of one swap, you stack several filaments in thin layers, and the colours you see come from light passing through the upper layers and picking up what's below. Prusa's blog notes that translucent filaments take on the colour of the layers under them, and gives the example of one layer of red under one layer of blue looking violet.
The number that controls this is TD, or transmission distance: how thick a filament has to be before it fully hides what's beneath. A filament with a low TD covers quickly. A high TD filament stays see-through for longer and blends more. Working out which heights to swap at by hand is mostly trial and error, which is why people simulate it first.
A few practical points: print these flat with the image facing up, use small layer heights so you have more steps between colours, and expect lots of swaps on a single tag.
Limits and honest failure modes
- One colour per layer. Side-by-side colours at the same height aren't possible with this method.
- You have to be there. Every swap needs a person. A five-colour photo tag means five trips to the printer.
- Off-by-one layers. If you put the change on the wrong layer, you get a thin stripe of the wrong colour at the base of your letters.
- Ooze and gaps. A dirty or unprimed nozzle can mark the first lines after a swap.
- Photo results are approximations. Real spools differ from typical TD figures, and the same tag looks different held up to light versus lying on a table.
- Firmware differences. M600, M0, M601 and PAUSE don't behave the same on every printer, so do a test pause on a scrap print before a long job.
Frequently asked questions
Can I print multicolour keychains without an AMS or MMU?
Yes, by changing filament by hand at set layer heights. You add a colour change or pause in the slicer preview, the printer stops at that layer, you swap filament and resume. It works because the base and the raised text sit at different heights, so each colour gets its own layers.
How tall should the raised text on a keychain be?
A good starting point is about 0.3 mm, which is two layers at 0.15 mm layer height. Prusa recommends giving each colour at least two layers so it prints reliably. Make the text bold and contrasting with the base, because thin strokes and subtle shades don't read well on a small tag.
Why did my colour change happen one layer too early or late?
The change takes effect at the start of the layer you select, and it's easy to pick the layer next to the one you meant. Scrub the slider in the slicer preview and make sure the first layer of your letters is the first one shown in the new colour before printing.
Can I mix PLA and PETG colours in one keychain?
It's best not to. Prusa advises using the same filament type for every colour, such as PLA with PLA, because different materials are likely to stick to each other poorly and peel apart. Stick to one material and change only the colour.
Try it on your own photo
If you want a photo keychain rather than plain text, Photo Layers is free and runs in your browser. List your filaments with their colour and TD, set your layer height and base layers, and it simulates how the stacked layers mix, picks the swap heights that best match the photo and shows you a preview of the print. It exports an STL, a 3MF with the colour changes for Bambu Studio or OrcaSlicer, and a swap list to keep next to the printer. Its built-in TD values are typical figures, not measurements of your spools, so if a colour looks off, measure yours and enter it in Photo Layers.
Sources
Free 3D printing tools
Convert projects, make Gridfinity inserts, turn photos into layered prints and check models before slicing. In your browser, no install.
Open 3D Tools