Photo Ornaments on an FDM Printer: Layered Colour Guide
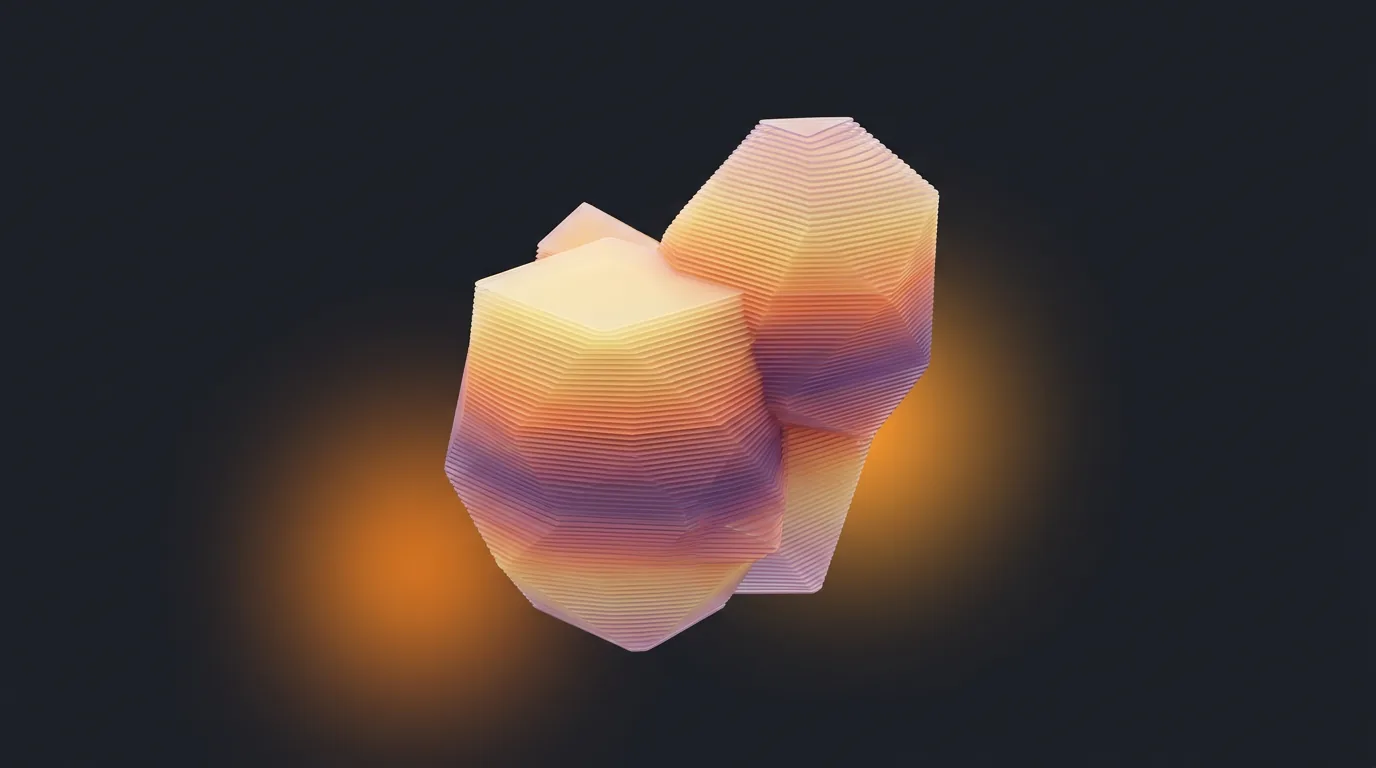
You can make photo ornaments on an ordinary single-nozzle FDM printer. Start with a flat disc or plaque, print a light base, then swap filament at set layer heights so each new colour partly covers the one under it. Because thin plastic lets some light through, a handful of filaments stacked at the right heights builds up shading that reads as a photo. It works best on a 60 to 80 mm ornament, with fine layers and a family photo that has strong light and dark areas. You don't need an AMS. You need a few pauses and some patience.
How layered photo ornaments work
A normal multi-colour print puts each colour side by side. This kind of print stacks them instead. The first few layers are a base, usually white. On top of that you print a dark colour that is very thin where the photo should be bright and thicker where it should be dark. Then a mid colour, then maybe a highlight colour. Each one tints what's below it.
The model is a heightmap: one surface where every pixel of the photo becomes a height. The colour you see at any spot depends on which filament ends at that height and how much of the colour underneath still shows through. That's why the swap heights matter so much, and why you need to know how see-through each of your filaments is.
What TD means and why it matters
TD stands for transmission distance. Polymaker's wiki page on layered painting explains that it's the thickness in millimetres at which light gets through a filament. A high TD, such as 10 mm, means the filament is very translucent. A low TD, such as 1.5 mm, means it's opaque. Their example: with a TD of 2, once you've printed about 2 mm of that filament, colours underneath add very little to what you see.
Some very dark matte filaments are listed there with a TD of 0.1, so they hide everything almost at once. That's handy for crisp outlines but leaves you little room for soft shading.
The catch is that TD changes between brands, between colours in the same line and between matte and glossy versions. A published value is a starting point, not a measurement of your spool. Pick filaments from one product line where you can, and write down what actually works.
Pick a photo that survives the shrink
An ornament is small, and a 0.4 mm nozzle can't draw fine detail at that size. Choose photos with:
- One to four faces that fill most of the frame, not a whole group at the end of a long table
- Clear lighting from one side so faces have real shadows
- A plain or blurred background that you can crop or darken
- High contrast between hair, skin and clothes
Crop tight, then boost the contrast a little before you start. If the photo looks flat on your phone, it'll look flatter in plastic.
Ornament-sized settings
These are starting points for a 0.4 mm nozzle and PLA. Your printer and filaments will change them, so print one test before you make ten for the family.
Use a layer height of 0.08 to 0.12 mm. Finer layers give you more steps between swaps, which means smoother gradients on faces. Keep whatever first layer height your profile uses, but remember it counts as part of the base thickness.
Make the base at least as thick as the base filament's TD. If it's thinner, light behind the ornament (tree lights!) will shine through and wash out the image. A white base with a moderate TD also gives the image a gentle glow when it's backlit, which looks lovely on a tree.
Set infill to 100 percent, or use enough top and bottom layers that no infill pattern exists. A thin disc is mostly solid anyway, but any sparse infill will show up as a grid when light comes through.
Use two or three walls, and print the photo face up so the image is on the top surface. A smooth build plate gives the back a clean finish.
Prusa's guide to practical uses of colour change recommends at least two layers per colour, because translucent filament gets tinted by what's beneath it. The same effect is what makes this whole technique work: their example is one red layer over one blue layer reading as violet.
Adding the hanging loop
The loop is where most ornaments fail, usually when someone tugs one off a branch. A few habits help:
- Put a tab at the top that's the full height of the ornament, not just the base. It's stronger, and it gets every colour layer, so it looks deliberate.
- Make the hole big enough for ribbon or a standard ornament hook, and leave a generous ring of plastic around it. A thin bridge of plastic between the hole and the edge is what snaps.
- Keep the tab in line with the disc rather than as a thin vertical ring printed upright. Flat layers across the tab are much stronger than a loop built from short stacked layers.
PLA softens with heat, so keep finished ornaments away from old-style hot bulbs and don't leave them in a car in the sun.
Setting up the swaps in your slicer
Once you know your swap heights, open the model in your slicer and slice it. In PrusaSlicer you drag the layer slider in the preview to the target layer and use the plus icon to add a colour change, pause or custom G-code. Prusa's knowledge base article on inserting a pause at a layer says a pause goes in before the selected layer prints, needs PrusaSlicer 2.2 or newer and doesn't work with sequential printing turned on. You can type a short message for the screen, and the printer beeps when it stops.
The Prusa blog adds a warning worth taking seriously: people often put the change one layer too high or too low. After adding every swap, scrub through the colour preview layer by layer and check that each new colour starts exactly where you planned. One layer off is visible on a face.
Bambu Studio and OrcaSlicer have the same idea on their layer sliders. Menu names and how they behave without an AMS have shifted between versions, so check your own version before you trust a long print to it.
If working out the heights by hand sounds tedious, Photo Layers does that part for you. You enter your filaments with their colours and TD values, it simulates the stack, picks swap heights and exports a 3MF with the colour changes already in it for Bambu Studio or OrcaSlicer.
Swapping filament at the printer
When the printer stops, unload the current filament, load the next one and push or purge until the new colour comes out clean with no streaks of the old one. Pull away the strand of purged plastic and wipe the nozzle before you resume. A blob dragged across the top surface is very obvious on a small portrait.
Stay close. Ornaments are short prints, and the swaps can come only a few minutes apart. If you leave a hot nozzle sitting in a long pause, it can ooze, and some users report an incomplete layer after resuming.
Limits and what goes wrong
Be honest with yourself about what this method can do. It's an impression of a photo, not a print of one.
Colours drift. Typical TD values aren't your spool. If skin tones look grey or too dark, try a thicker or thinner band of the mid colour, or a different filament.
Small faces vanish. On a 70 mm disc, a face in a group shot might be 10 mm wide. That's only a few nozzle widths across, so eyes and mouths turn to mush. Crop harder or print bigger.
Swap mistakes are permanent. Loading the wrong spool or missing a pause ruins that ornament. Label your spools in order before you start.
Backlight changes everything. The ornament looks different on a lit tree than on your desk. Check your test print in both places.
Fine layers take time. At 0.08 mm, even a thin ornament has a lot of layers. Batch several ornaments on one plate so they all share the same swaps.
Frequently asked questions
What is TD in 3D printing filament?
TD, or transmission distance, is the thickness in millimetres at which light gets through a filament. High values like 10 mm mean very translucent filament, while low values like 1.5 mm mean opaque. Layered photo prints use TD to work out how much each colour tints the ones beneath it.
Do I need an AMS or multi-colour printer to print photo ornaments?
No, a single-nozzle printer works fine. You add a pause or colour change at each swap height in your slicer, then unload and load filament by hand when the printer stops. An automatic system just saves you from standing by the printer.
What layer height should I use for a layered photo print?
A good starting range for a 0.4 mm nozzle is 0.08 to 0.12 mm. Finer layers give more steps between swaps and smoother shading on faces, but they also make the print take longer. Give each colour at least two layers so it shows properly.
Why does my photo ornament look washed out on the tree?
The base is probably too thin, so tree lights shine through and flatten the image. Make the base at least as thick as the base filament's TD, and use full infill or solid layers so no infill grid shows when the ornament is backlit.
If you'd like to skip the maths, Photo Layers is free and runs entirely in your browser. You give it your family photo and your filaments with their colours and TD values, set the layer height and base layers, and it picks the swap heights, shows you a simulated print and exports an STL, a 3MF with the colour changes for Bambu Studio or OrcaSlicer, and a swap list to keep beside the printer. Its built-in TD values are typical figures, so if you've measured your own spools, put those in instead.
Sources
Free 3D printing tools
Convert projects, make Gridfinity inserts, turn photos into layered prints and check models before slicing. In your browser, no install.
Open 3D Tools